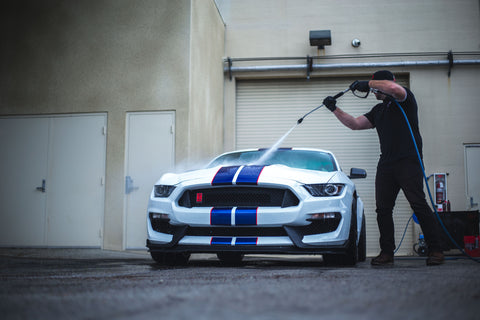
Washing your car or truck is one of the easiest and quickest ways to care for & maintain your vehicle. And if you're like us, you're a firm believer that a clean car just simply drives better. So read along below as we walk through the 7 basic rules we use when we're cleaning cars at the Garage or our very own daily drivers.
We're detailing Jay's 2015 Ford Mustang Shelby GT350R in today's post, but these same steps will apply no matter what type of car you're cleaning.
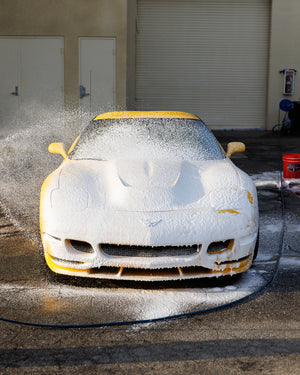
1. Wash in a cool, shaded area
Before you get started, you’ll want to park your car/truck in a shaded area and make sure the surface is cool to the touch. This will help ensure products aren’t drying on the car or truck prior to rinsing them off.
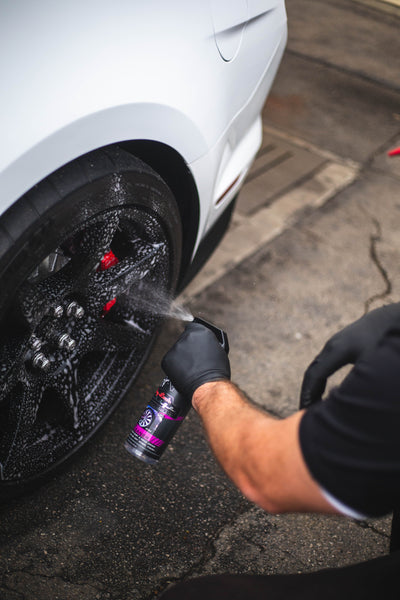
2. Wheels & tires first
First up on the exterior wash "hit list" are the wheels & tires. You'll want to clean these before the paint because they’re typically the dirtiest part of your vehicle. Plus, if you wait to clean them until the end of your wash you'll run the risk of splashing dirt & brake dust back onto the clean paint.

Now is a good time to point out a major detailing fundamental: avoid cross-contamination wherever possible. We suggest using tools & buckets designated for specific sections of the vehicle. Using the wheels & tires as an example, this area is usually full of brake dust & road grime. The last thing you want to do is take the wash mitt you’re going to use for your paint and wipe down your wheels with it. If you did that, your wash mitt would pick up the sharp brake dust particles, trap them in the fibers, and then scratch & swirl your paint when you wash it later in the process.
When cleaning your wheels, it’s important to note that you work one at a time. Avoid applying cleaners to all 4 wheels first, and then start detailing them. While you’re working with the first one, your cleaners will dry on the other three and can potentially harm them.
As far as tools & chemical are concerned, we'd suggest the following:
- A bucket dedicated for wheels & tires
- Wheel Cleaner
- All-Purpose Cleaner
- EZ Detail Brush
- Fender Brush
- Boars hair detailing brush (helps get into the nooks of the wheel and lug nut recesses)
Use your desired wheel cleaner for the barrel and face of the wheel. You can use an all-purpose cleaner for the tires and wheel wells.
This is where having a nice assortment of brushes will come in handy. You'll want to use stiffer bristles for tough areas like tires & wheel wells, but for sensitive wheels/rims, you'll want to use something that has a soft nylon bristle. The soft bristled brushes will help avoid any scratches or swirling on the wheel's finish.
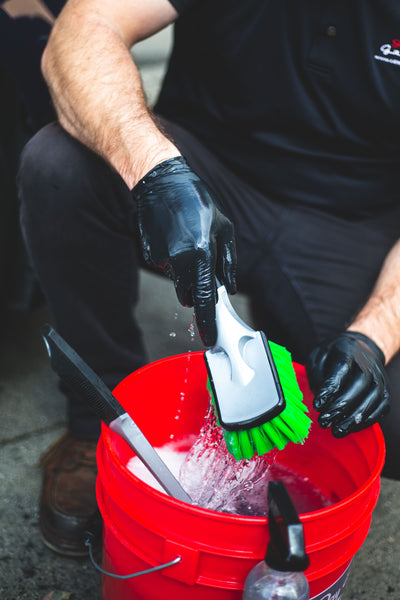
Make sure and rinse every wheel clean once you're finished scrubbing & cleaning.
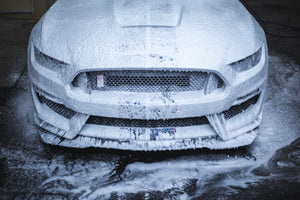
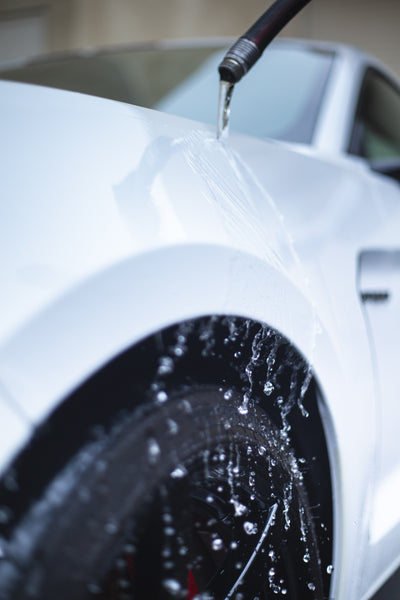
3. Rinse it
Once we’re done with the wheels, we’ll focus our attention on the paint. We like to rinse everything down first. This way we knock as much dirt off as possible. It seems pretty simple, but it's actually an important step. The less you have to scrub and wipe away from the surface, the less chance you have of installing swirls and "love" marks.
We use a pressure washer at the Garage, and they're great tools. However, we know not everyone has that luxury. The steps we describe here can be used with a garden hose and you'll be just as effective.
4. Use two buckets for washing
We've already covered the two-bucket wash method, but if you're not familiar and want to learn more you can click here to read & watch more about it.
Here's the tools & chemicals we typically use for the car wash:
- Two buckets (one for rinsing your mitt, the other for soapy water solution)
- Grit Guards in both buckets (we also use a Wash Board in our soap bucket)
- Car Wash Shampoo
- Wash Mitt
- Step stool*
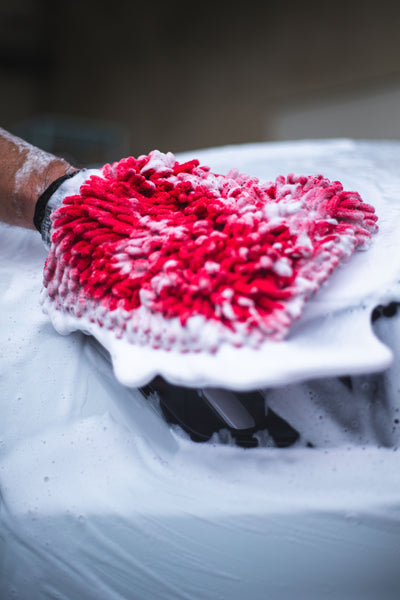
With your rinse & wash buckets prepped & ready to go, grab your wash mitt, load it up with soapy water, then start washing at the top of the vehicle and work your way down.
*If you're working on a taller vehicle and need some extra height for those hard to reach areas, you can use a step stool.
5. Start at the top
With any car or truck you’re washing, it’s important to start at the top, and then work your way to the lower areas. This serves two purposes: first, the bottom portions of the car or truck are typically the dirtiest, so you want to save them for last. Second, as you begin washing from the top, your soap and water tends to run down to the lower portion of the car effectively “pre-washing” everything as you go along.
We typically follow the same pattern on every wash. Below is the order we normally wash in:
- Start with the roof and glass sections of the vehicle
- Hood and top of the trunk (if applicable)
- Top half of the sides of the vehicle – this is typically just below the windows to just above the rocker panels.
- Front grill and bumper area
- Rear tailgate or bumper area
- We save the lower rocker panels for the very last
Don’t forget to thoroughly rinse your wash mitt between each section, this will help avoid imparting those pesky swirls & scratches. If it's a hot, sunny day out, you might consider rinsing after you wash each major section to avoid having soap & water dry on the surface.
Once the vehicle is completely washed, give it a thorough final rinse to make certain all the soap residue is gone. From this point, we’ll focus on drying.
6. Use quality microfiber towels
When it comes to drying, applying protection or any other time you're considering touching the paint, make sure and use high quality microfiber towels. This can't be stressed enough. Any time you touch the paint you run the risk of scratching or swirling, so you want to use towels that are soft and designed for the task at hand.
Twist-weave microfiber towels are great for drying. The long fibers of these towels act like a wick and absorb large amounts of water easily.
Soft, plush style microfiber towels are ideal for sprays, waxes & sealant applications.
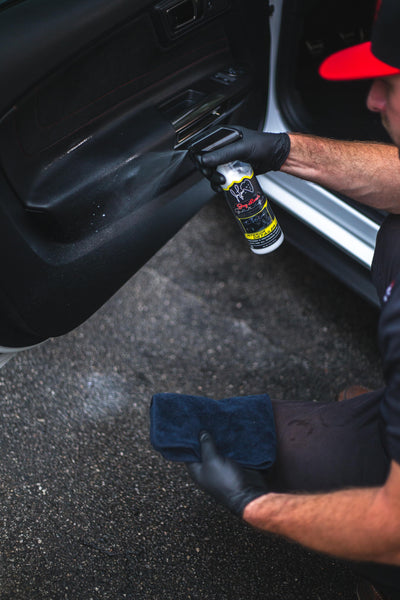
7. Don't forget the inside
Obviously we spend most of our time IN our cars & trucks, so don't skip out on cleaning the inside. Use a vacuum to get the majority of the dirt & grime and finish with a quality interior surface cleaner. This step can easily make the biggest impact when it comes to the vehicle "feeling" clean.
And there you have it, 7 easy to follow steps that are sure to help simplify your next car wash & detail!
If you have any questions or thoughts, feel free to leave a comment in the section below. If there are any other detailing topics you'd like us to cover, feel free to drop us a line at info@lenosgarage.com.
6 comments
I really enjoy the consistent quality across the line in Jay Leno‘s‘s products. I’ve been around a long time. And I seen that most products that are full line products have a good products and not so good products. For example one might have a great washing solution while another one has a great liquid wax and another one has the best wheel cleaner.
When I picked up the entire kit I was surprised at the consistently high-quality across-the-board! For me that was a first! For example I’ve always hated interior shine products leaving everything slimy with a very unnatural look. Since the interior product came in the kit I tried it in an area that I normally wouldn’t see and would be prepared to clean that greasy mess off. I have to say I was pleasantly surprised and finished the rest of the dashboard on my 2020 dodge challenger scat pack! It enhances and protects without making it look like I just sprayed it with WD-40!
Does it matter to you guys if I buy it from Walmart or directly through you? It was a bit more expensive to get my recent order of radiant. But I thought getting it directly from the source would always be better.
Slushy snow and winter boots bring a lot of dirt and grime into your vehicle’s interior. First toss out trash and anything that doesn’t belong in your ride. Then vacuum out dirt and debris. Spot treat carpets with a carpet and upholstery cleaner. Use a trim shine product to clean and restore the dash and console. Avoid soaps and other products that can dry out the surface and cause it to fade. A tooth brush and q-tips are great tools for getting to small crevices.
In the "Car Washing 101 " Video, what size hose are you using, is it 3/4" or 1" ? I also have your “Fire Hose” attachment, I’m using a 5/8" hose. I apparently do not have enough water pressure for this tool. Will you have a smaller version of it, in the future ?!?!?!