
In this post we’re going to cover a topic that often strikes fear in the hearts of lots of us detailing our own cars at home out on the driveway.
Engine bays! Dun dun dunnnnnnnnn!
I know what you’re thinking; air intakes, computers, electrical connections, fluid reservoirs, ALL SORTS of stuff that can be ruined by soap & water live in an engine bay. Not to worry though! It’s not as scary as it seems. Especially with newer cars and the advancement of electronics & fuel injection. These days, doing a proper cleaning on most current engine bays isn’t nearly as daunting as it used to be. And believe me when I tell you, we’re speaking from experience.
This week we’re going to be working on Jay’s 1999 Chevrolet Corvette. It’s got an 5.7 L V8, flip-up headlights, and a targa top. All of which makes for a ton of fun. Unfortunately, the engine bay was a little dirty. So we jumped in to show you what it takes to get everything looking brand new in an engine bay like this.
Check out the video below:
Like videos like these? Click here to subscribe to our YouTube channel.
We started by making sure the engine was cool to the touch. You don’t want to start dousing it with water while the exhaust manifolds are still piping hot. If you just got done driving, give it 30 minutes to an hour before you dive right in. You’ll thank us later.
Once you’re confident everything is nice and cool, you’ll want make sure and cover any sensitive fuse panels, electronics or air intakes with a plastic bag. Zip tops will do the trick, so will trash bags for larger areas.
Grab your vacuum, and suck up any of the pesky debris that accumulates in the hood jambs. It’s best to do this before you get everything wet. It will be a lot easier to suck it all up.
Once you’ve got everything covered and vacuumed, you’ll want to do a very quick & light pre-rinse. A couple light sprays of water will help knock off as much dust as possible, and get everything ready to be cleaned.
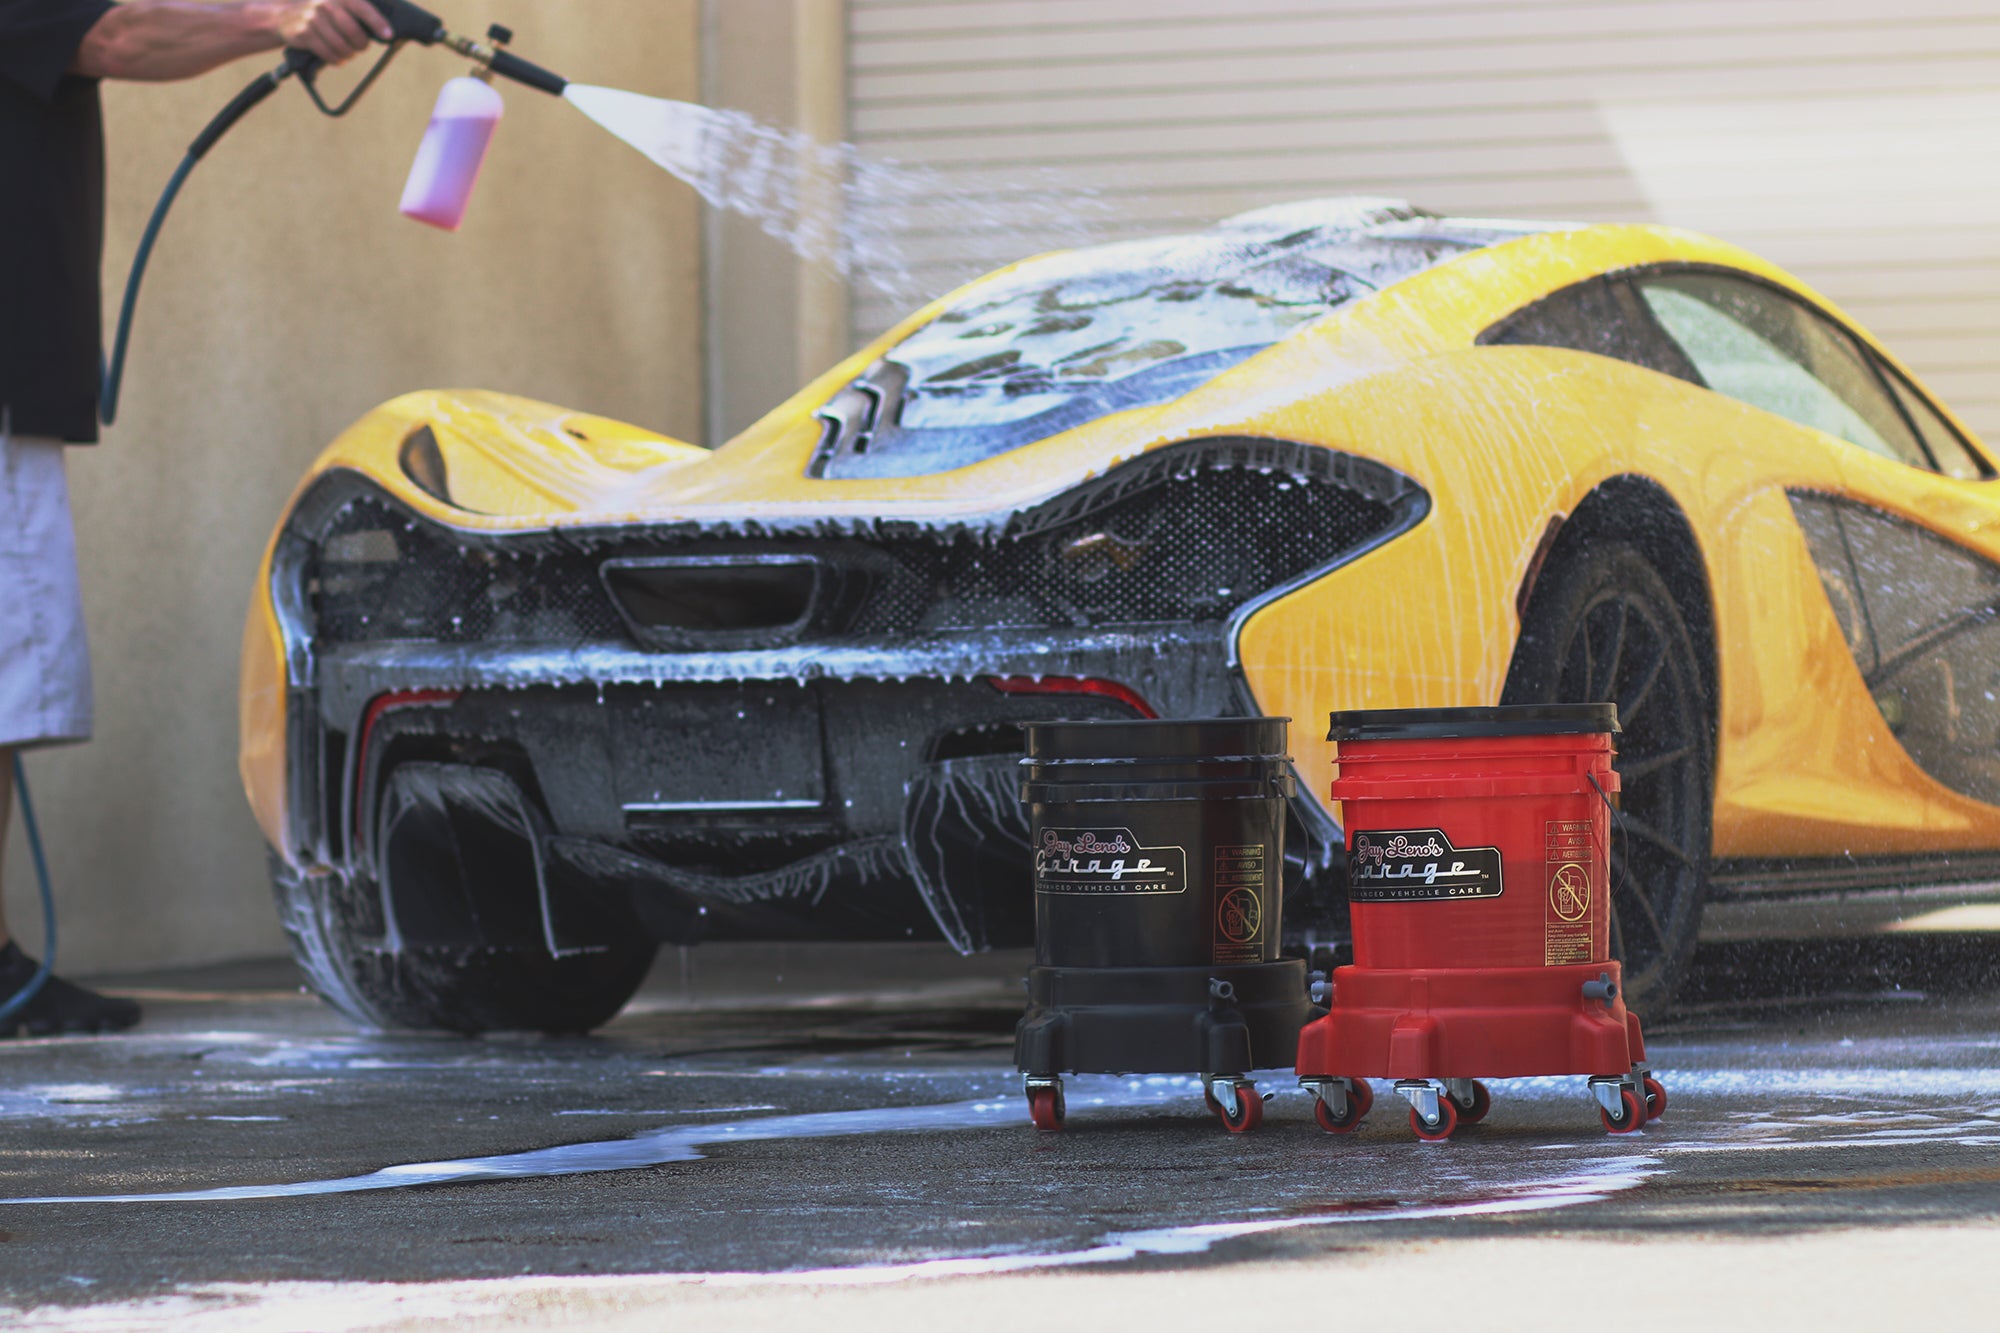
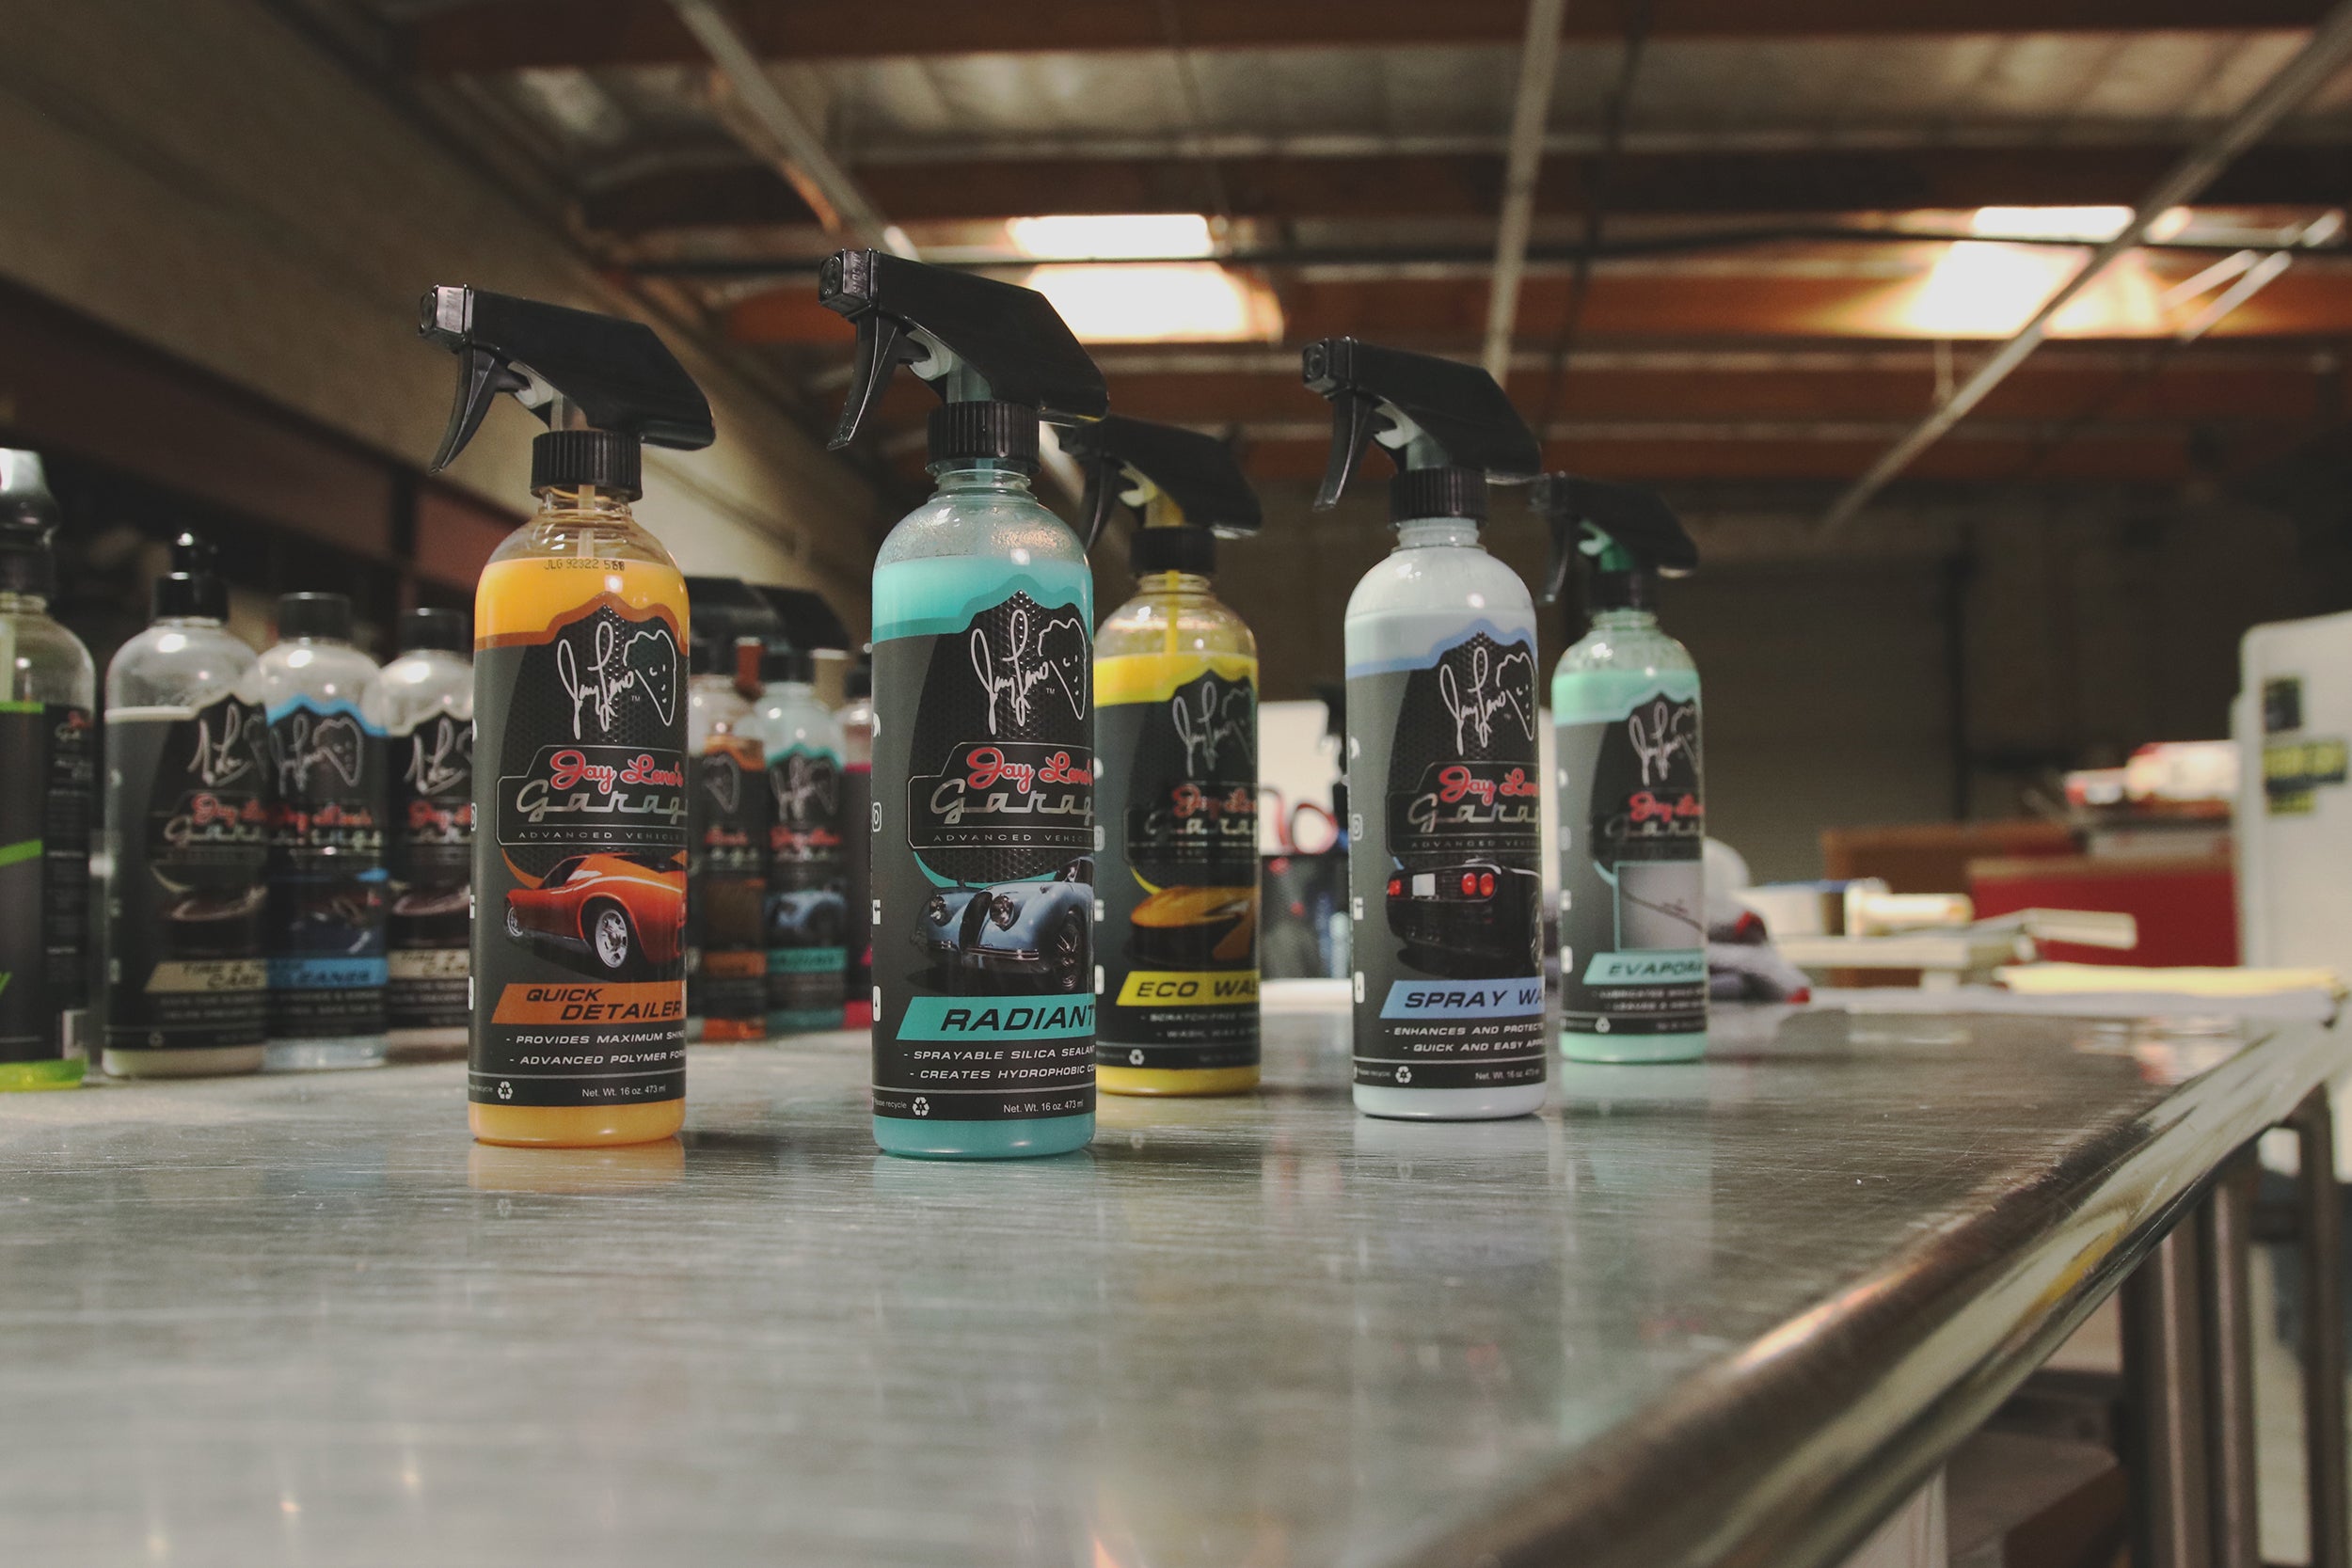
As far as tools & chemical are concerned, we’re going to use our All Purpose Cleaner along with our boars hair detailing brushes. We used the short and long handled versions. The longer handle helped us get into the tight, harder to reach areas and allowed us to really scrub away dirt & grime.
Once you’ve rinsed everything down, spray on a liberal amount of All Purpose Cleaner. How much you’re going to need will vary based on how dirty the engine bay is. Stay away from over saturating electrical connections, most are sealed and weather-proof these days, but you don’t want to take any chances.
Allow a few minutes for the cleaner to penetrate and start to loosen the tough dirt and grime, then get in and go to town with your brushes. Start with the least dirty areas first, and save the real grimy sections for last. There’s no real science here. Just get in and agitate the dirt as much as possible.
Once you’ve scrubbed everything, get your hose and do a very light rinse. Again, you want to try and avoid flooding the area with excessive amounts of water.
After everything is rinsed & clean, you’ll want to dry it as best as you can. We’re going to use compressed air because it makes the job easy and we’ve got it at our disposal. You can use microfiber towels, or a vacuum set on the reverse setting if you’ve got that available to you.
You can finish up here, but if you’d like to take it a step further, you can apply a light coating of Tire & Trim Care to help your plastic sections of the engine bay pop a little more. Again, nothing crazy here, just add a small amount of dressing to an applicator pad, and evenly distribute amongst the plastic panels. Come back with a microfiber towel, and wipe away the excess to achieve an even finish. Tire & Trim Care will leave a nice satin finish, without being overly greasy.
And voila, that’s it! That’s some of the basics to cleaning an engine bay. If you’ve got things like polished metal or chrome, then you’ll want to break out the metal polish to get everything "bling-tastic", but we’ll cover that process in another video or blog post.
We’re sharing the tips & tricks we use to clean and maintain Jay’s collection in hopes that it’ll help you learn a thing or two about caring for your own car. Let us know what you think in the comments below. If you’d like to see us cover some other popular detailing topics, drop us a line at info@lenosgarage.com.
11 comments