This week we’re doing a deeper dive on a popular detailing topic, the two-bucket wash method. What is it, how it works, and why you should absolutely be using it on your next detail are just a few of the points we'll cover in this post.
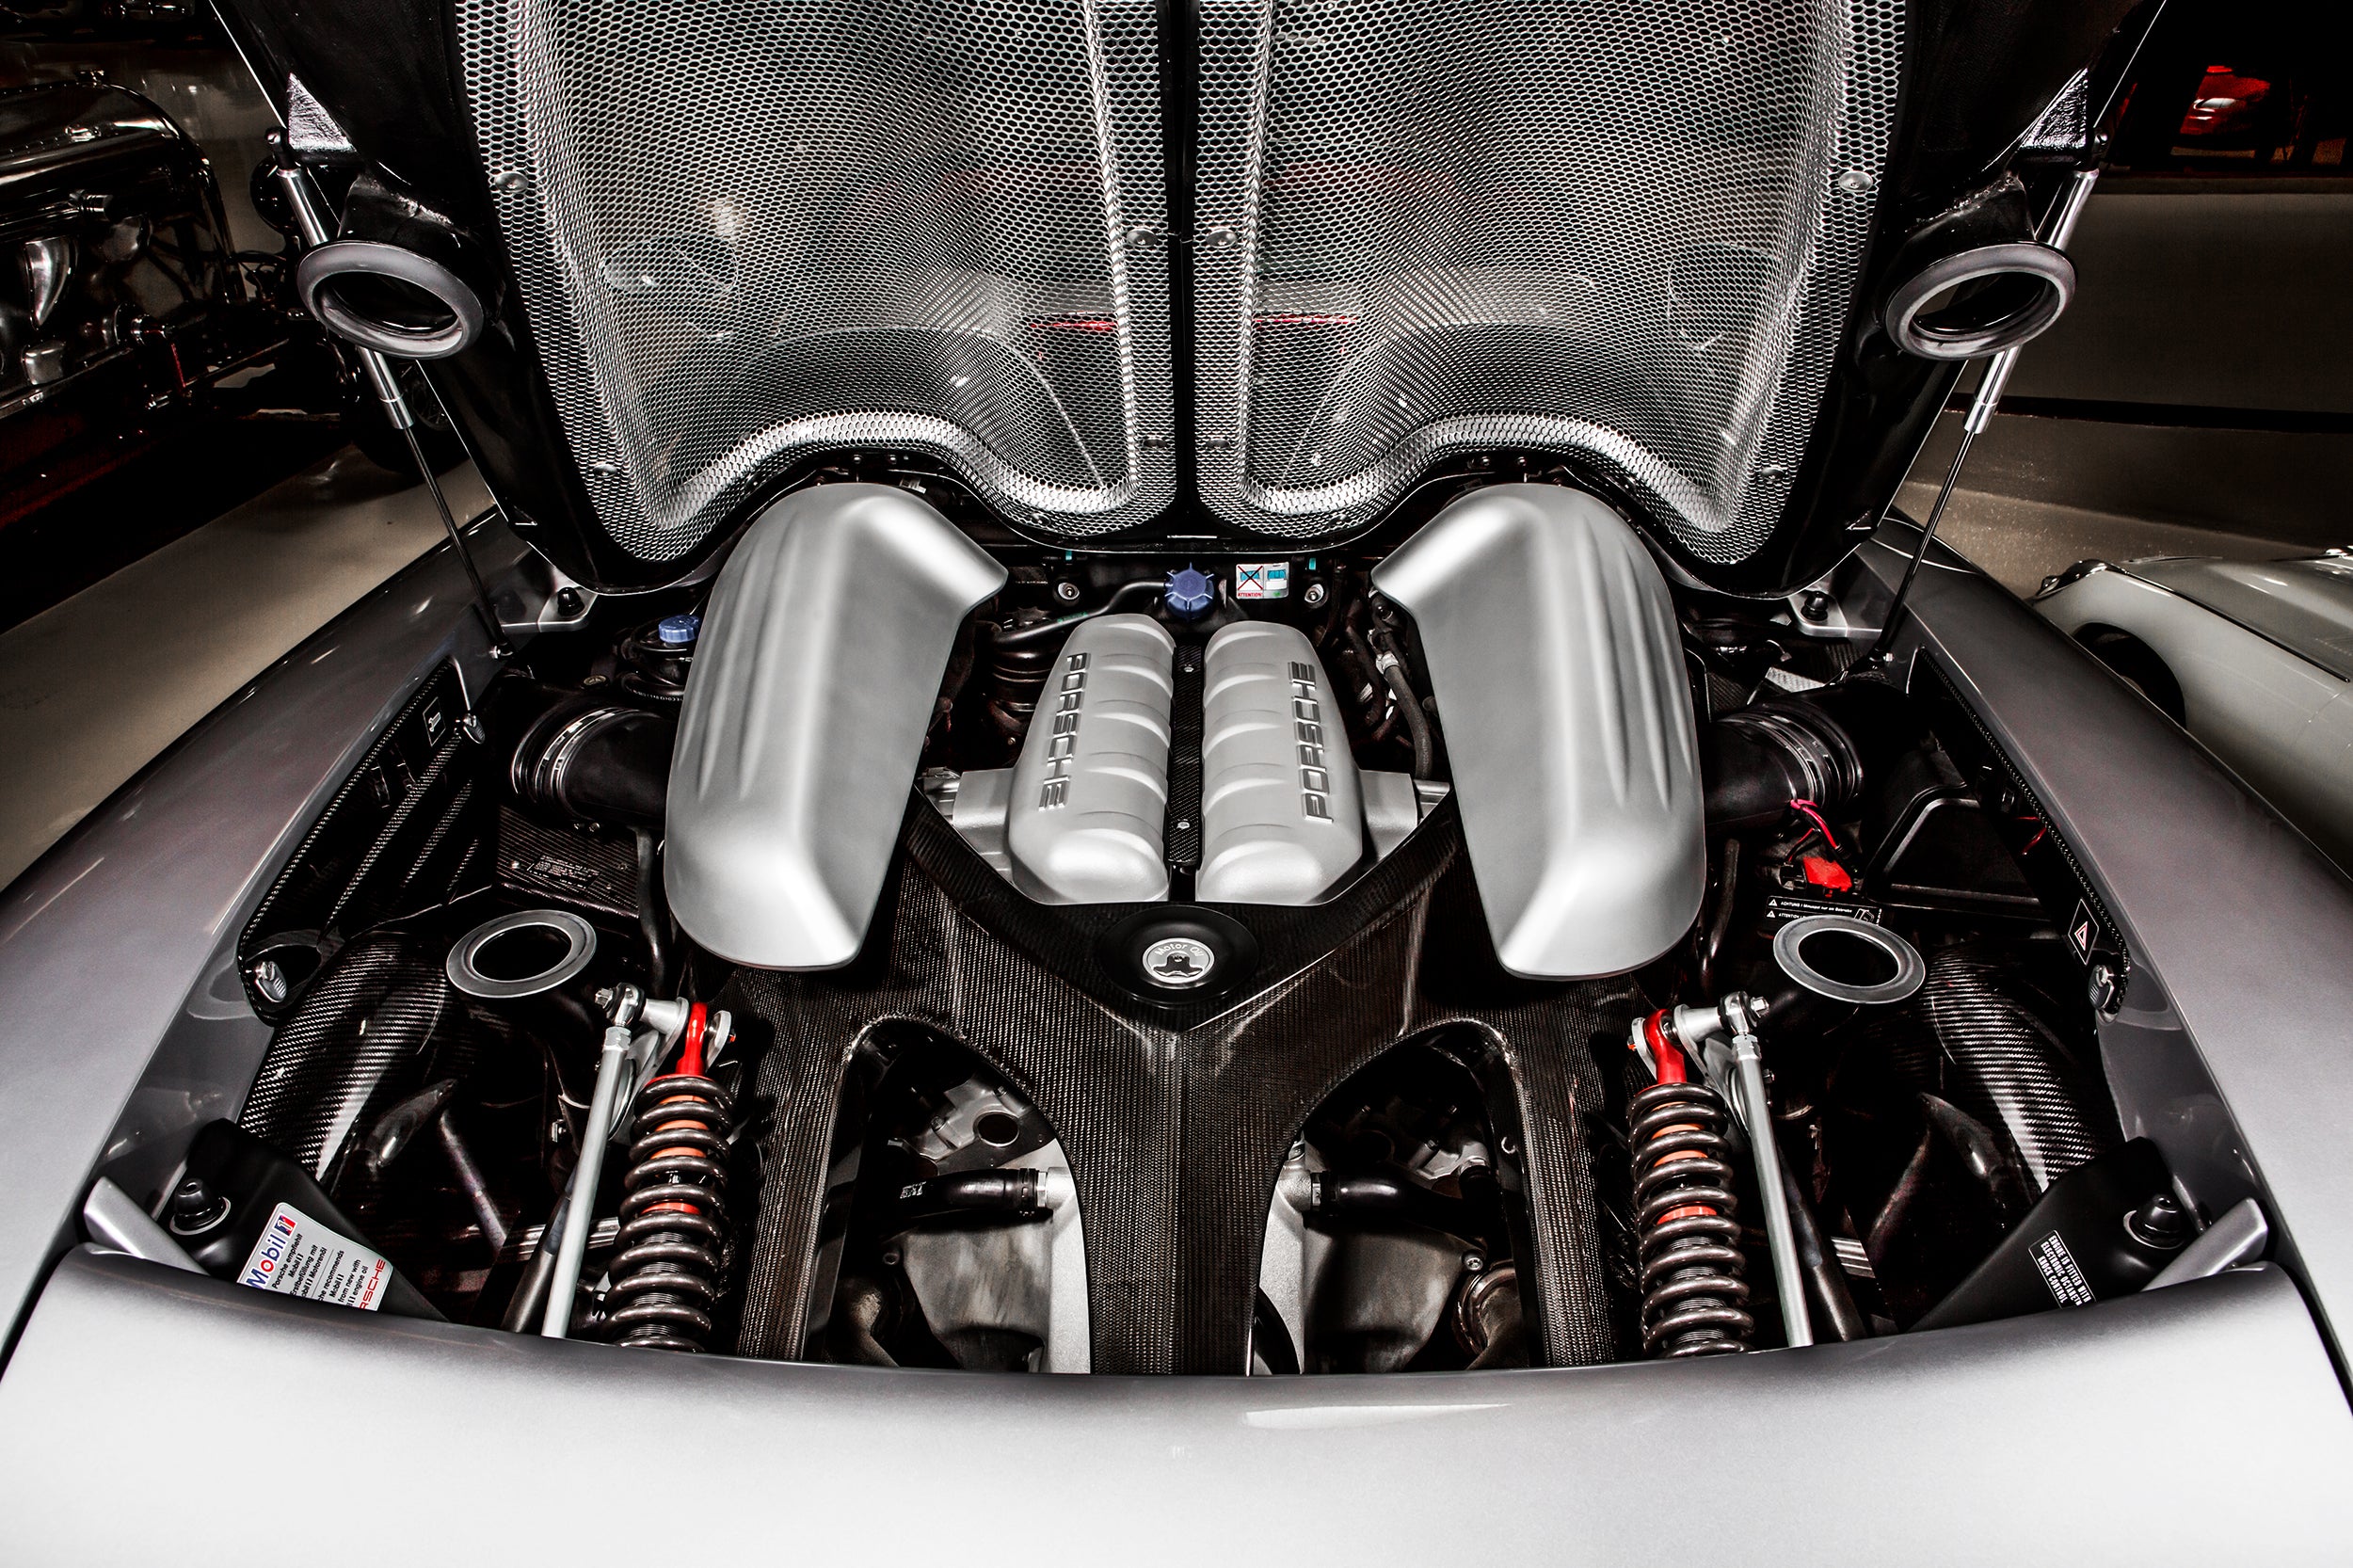
To help walk us through some of the talking points we've employed a very special guest; Jay's McLaren P1! That’s right, the hybrid 3.8L, twin turbo charged, 900+ horsepower, 0-62 mph is 2.8 seconds McLaren P1. There were only 375 of these "rocket ships with wheels" ever made! This was the VERY. FIRST. ONE. to be delivered into the U.S. Jay ordered it in the amazing McLaren Volcano Yellow.
It was out and about over the weekend, and if there’s one thing about these cars, they know how to get dirty. Fast.
Low ground clearance, wide tires (245 in the front, and 315’s in the rear!), and extra aero mean cars like the P1 turn into literal vacuum cleaners when driving. They pick up tons of dirt & dust off the roads, leaves, little pebbles and rocks, small children… you name it. And all that dirt usually makes its way onto the car, and that’s where the fun part of our job sets in… how do you clean the thing?! I mean, it’s only an ultra-rare, million+ dollar hyper car, that most people wont get to ever see, let alone TOUCH – no pressure right?
Enter the two-bucket wash method. A somewhat new tactic in the detailing arsenal, this is (hands down) the first line of defense when it comes to cleaning and detailing a car where you want to avoid leaving scratches and swirls in the paint. And while most of us will never get the chance to own an amazing car like the P1, we’re gonna walk you through some of the basics on how to set up a two-bucket wash system so you can wash your car and care for it as though it’s your very own P1.
First we’re gonna start off with the “why”. Why does it work, and why should you bother with it? When you’re washing any car, you’re working to remove the bonded dirt and contaminants from your car’s surface to reveal the clean glossy finish below. The problem arises when your wash mitt touches the paint. This is where you have the highest potential to impart swirls and scratches into your paintwork.
Let’s walk through the hypothetical steps of the old, single-bucket wash method:
- You dunk your mitt into a bucket with soap & water.
- Walk over to the car and begin to wipe away dirt & grime. As you continue to wash, your mitt picks up more and more dirt from the surface.
- When you’re using a single bucket, and you need more suds, you dunk your mitt (along with all the dirt you just picked up) into your soapy water, then bring it back to the car. You repeat that around the entire car, and each time you’re taking all the dirt you’ve pulled off the car and mixing it BACK into your wash water.
See the issue here? This method only serves to saturate your mitt more and more with dirty water, that you then end up scrubbing back into the surface of your car.
The whole idea behind the two bucket wash method is isolating the dirt you’ve wiped from the surface of the car as much as possible. With each trip to the bucket, you want to rinse your mitt of as much dirt as possible in a second, clean water rinse bucket. Then dunk your mitt back into the soapy wash water.
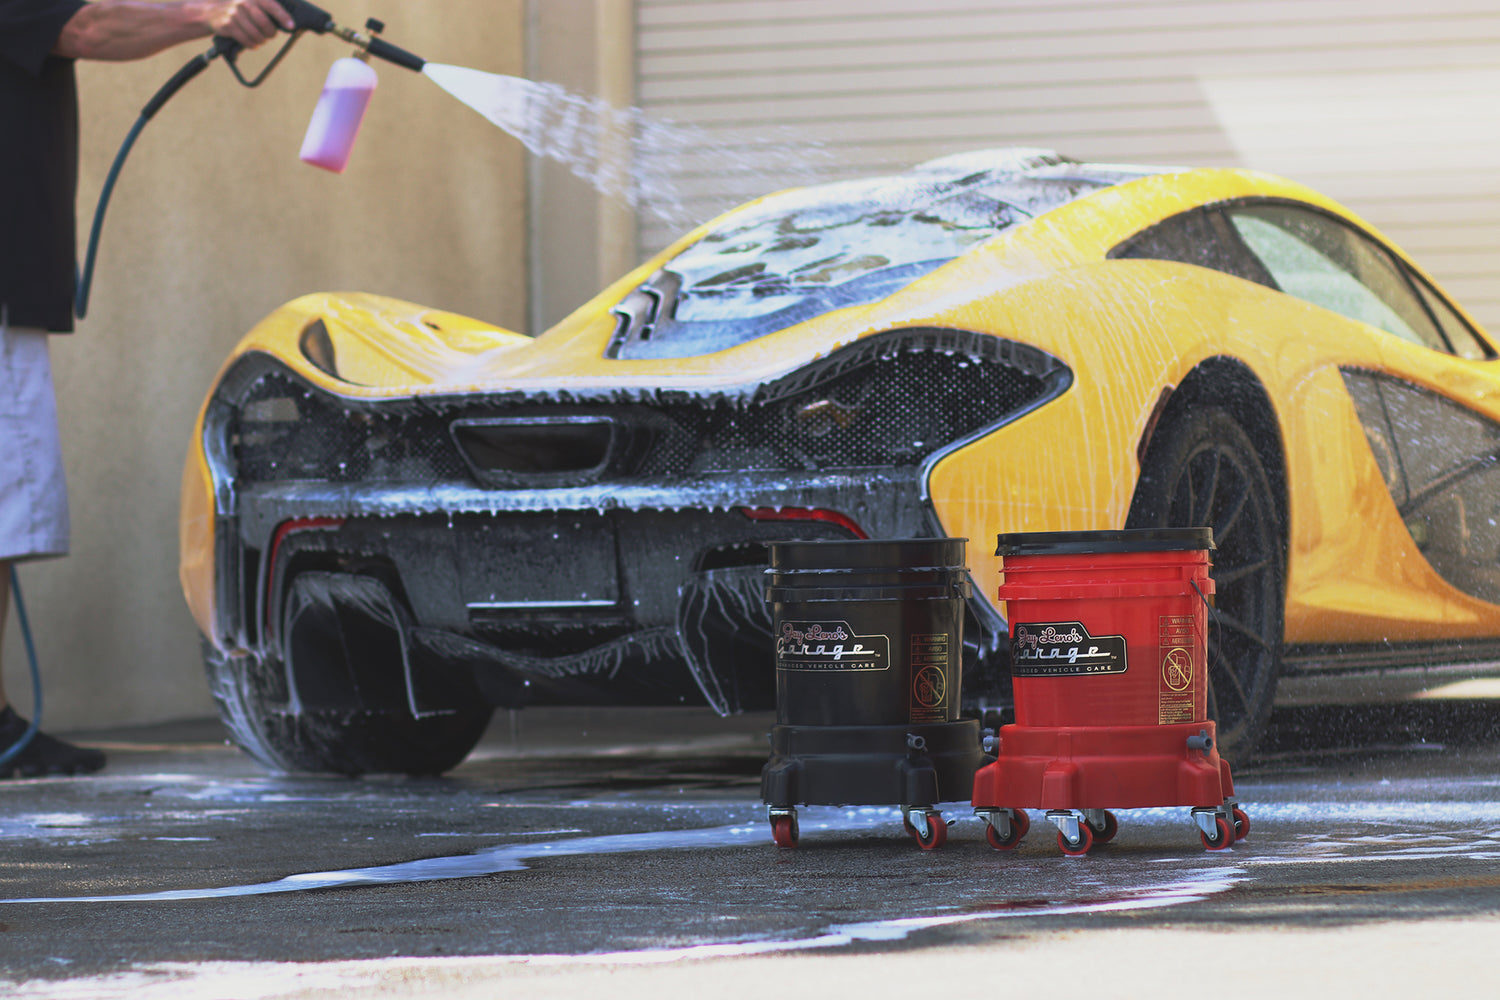
Here’s the basic tools you’ll need to set yourself up with a 2-bucket wash system.
- 2 buckets (duh) – we recommend 5 gallon buckets because they give you some extra water depth even with grit guards installed. One is your rinse bucket with only clean water, the other is for your soapy wash water. You can label your buckets if that helps, we use alternating colors to help us keep track.
- A grit guard for your rinse bucket, and a grit guard/washboard combo in your wash bucket.
- A quality wash mitt. We like to use a microfiber chenille (a fancy way of saying long string-y things) mitts. We find that they help lift and trap dirt away from the surface nicely, but also release the trapped dirt easily when dunked into the rinse bucket.
- And of course the wash shampoo of your choice. We went with Vehicle Wash for the P1.
Start from the top of the car, and work your way down so you finish with the rocker panels last. This under portion of the car is by far the dirtiest – you’ll want to save it for last so you aren’t picking up this dirt and getting it onto the rest of the car.
Dunk your mitt in the rinse water after every couple of panels, then dunk it back into your wash bucket to load it up with suds again. Try to utilize the grit guards and washboard to help knock as much dirt out of the mitt as possible.
With the P1, we took an extra couple of steps to help avoid scratching. First you’ll notice the pressure washer complete with a foam cannon. We’ll do a whole separate video on these, but this is one of the most effective ways to deliver soapy water to the surface of any car. And because the soap & water are your main source of lubrication during a car wash, the more suds you can deliver, the better. Anything you can do to encapsulate dirt particles in lubrication will help to avoid scratching your car’s paint during the wash.
You don’t HAVE to use a pressure washer and foam cannon setup, but we would absolutely recommend you AT LEAST invest in a solid two-bucket wash set up. This is going to be your first line of defense in making sure you aren’t scratching or marring your car’s paint.
We’re sharing the tips & tricks we use to clean and maintain Jay’s collection in hopes that it will help you learn a thing or two about caring for your own car.
Let us know what you think in the comments below. If you’d like to see us cover some other popular detailing topics, drop us a line at info@lenosgarage.com.

2 comments
Bob Barth
I have tried NUMEROUS PRODUCTS, Chemical guys, jax wax, etc., etc since I was 15 years old cleaning and detailing vehicles with my Dad. Some were ok, Some were not so good. One thing for sure, elbow grease and time were an absolute!
I had met Jay at a car show here in Cleveland, heard he had car wash and detailing products, and decided to give them a try. I mean, have you SEEN HIS CARS!!!! lol
Although somewhat a little pricier than I thought they were going to be, after using the first few products, I was hooked. The extra cost is absolutely WORTH the results in cleaning, shine, and durability in the products lasting shine! I cannot say enough! Thank you Jay for the car show, You, and your products!! You are absolutely a class act guy!
And the products match!!!
James Spina
At first I was hesitant about the Jay products mainly because the premium price needed to deliver something above what’s name-brand available out there. BUT…Here’s the deal… I’ve tried premium from places such as Griot and Jax Wax and Jay’s is hand-down superior! And this now ongoing blog of detailed cleaning tips has me convinced. So from here on it’s two buckets, a foam gun (Tips please!) and exclusively JAY!
At first I was hesitant about the Jay products mainly because the premium price needed to deliver something above what’s name-brand available out there. BUT…Here’s the deal… I’ve tried premium from places such as Griot and Jax Wax and Jay’s is hand-down superior! And this now ongoing blog of detailed cleaning tips has me convinced. So from here on it’s two buckets, a foam gun (Tips please!) and exclusively JAY!