A simple car wash is the easiest and most effective way to maintain your vehicle’s appearance. However, some of you might be washing your car wrong! Granted, there are a hundred ways you can wash your car these days, there are also a myriad of ways you can be doing it wrong. A few key steps can be taken when washing that will drastically reduce the amount of time and effort it takes to maintain your vehicle’s appearance. In this write-up we’ll discuss some tips and tricks that can help reduce unsightly swirls, scratches and spider-webbing that can be caused from improperly washing your car. If cared for properly, a vehicle’s painted surface can easily last 1-2 years before requiring a full-blown polishing procedure.
Rule 1 – The Two-Bucket Wash Method
It is absolutely essential that you utilize two buckets when washing your car. Let’s think for a second on how you’re currently washing. I’ll bet you’re grabbing a single bucket, filling it with soap & water, grabbing your rag, spraying the car down, then going to town; constantly dunking your dirty rag into the same wash bucket. All the while, you’re mixing your clean wash water with the dirt and grime you just removed from the car’s surface. Your wash rag/mitt becomes impregnated with dirt, in turn transferring that dirt BACK to the vehicle’s surface, and slowly but surely scratching, marring, and dulling the painted surface.
Thankfully there’s an easy and effective fix to this issue. Instead of a single bucket, we recommend using two. One bucket for your soapy wash water (wash bucket), the other should contain only water (rinse bucket). 5 gallon buckets are the best for these tasks as they allow for ample amount of water to help remove trapped dirt particles from your wash mitt.
Rule 2 – Grit Guards
Grit Guards and Washboards are relatively recent additions to the car washing tool box. A Grit Guard is an insert that is placed into the bottom of your wash and rinse buckets that aids in extracting dirt particles from your wash mitt. They allow the dirt to sink to the bottom of the bucket and provide a clean, scratch-free wash mitt every time you go back to the bucket for water.
A Washboard works in conjunction with the Grit Guard and provides a vertical surface to agitate your wash mitt against (note that a Grit Guard is needed in order to utilize the Washboard).
Rule 3 – The Soap
Choosing the correct soap to wash your car with is another critical choice that will dictate the amount of work washing your car takes. Whatever soap you choose, make sure to never use dish soap for washing your car! Dish soap contains powerful detergents that will not only strip the dirt, oil and grime from your vehicle’s paint but also any wax protection you may have applied previously.
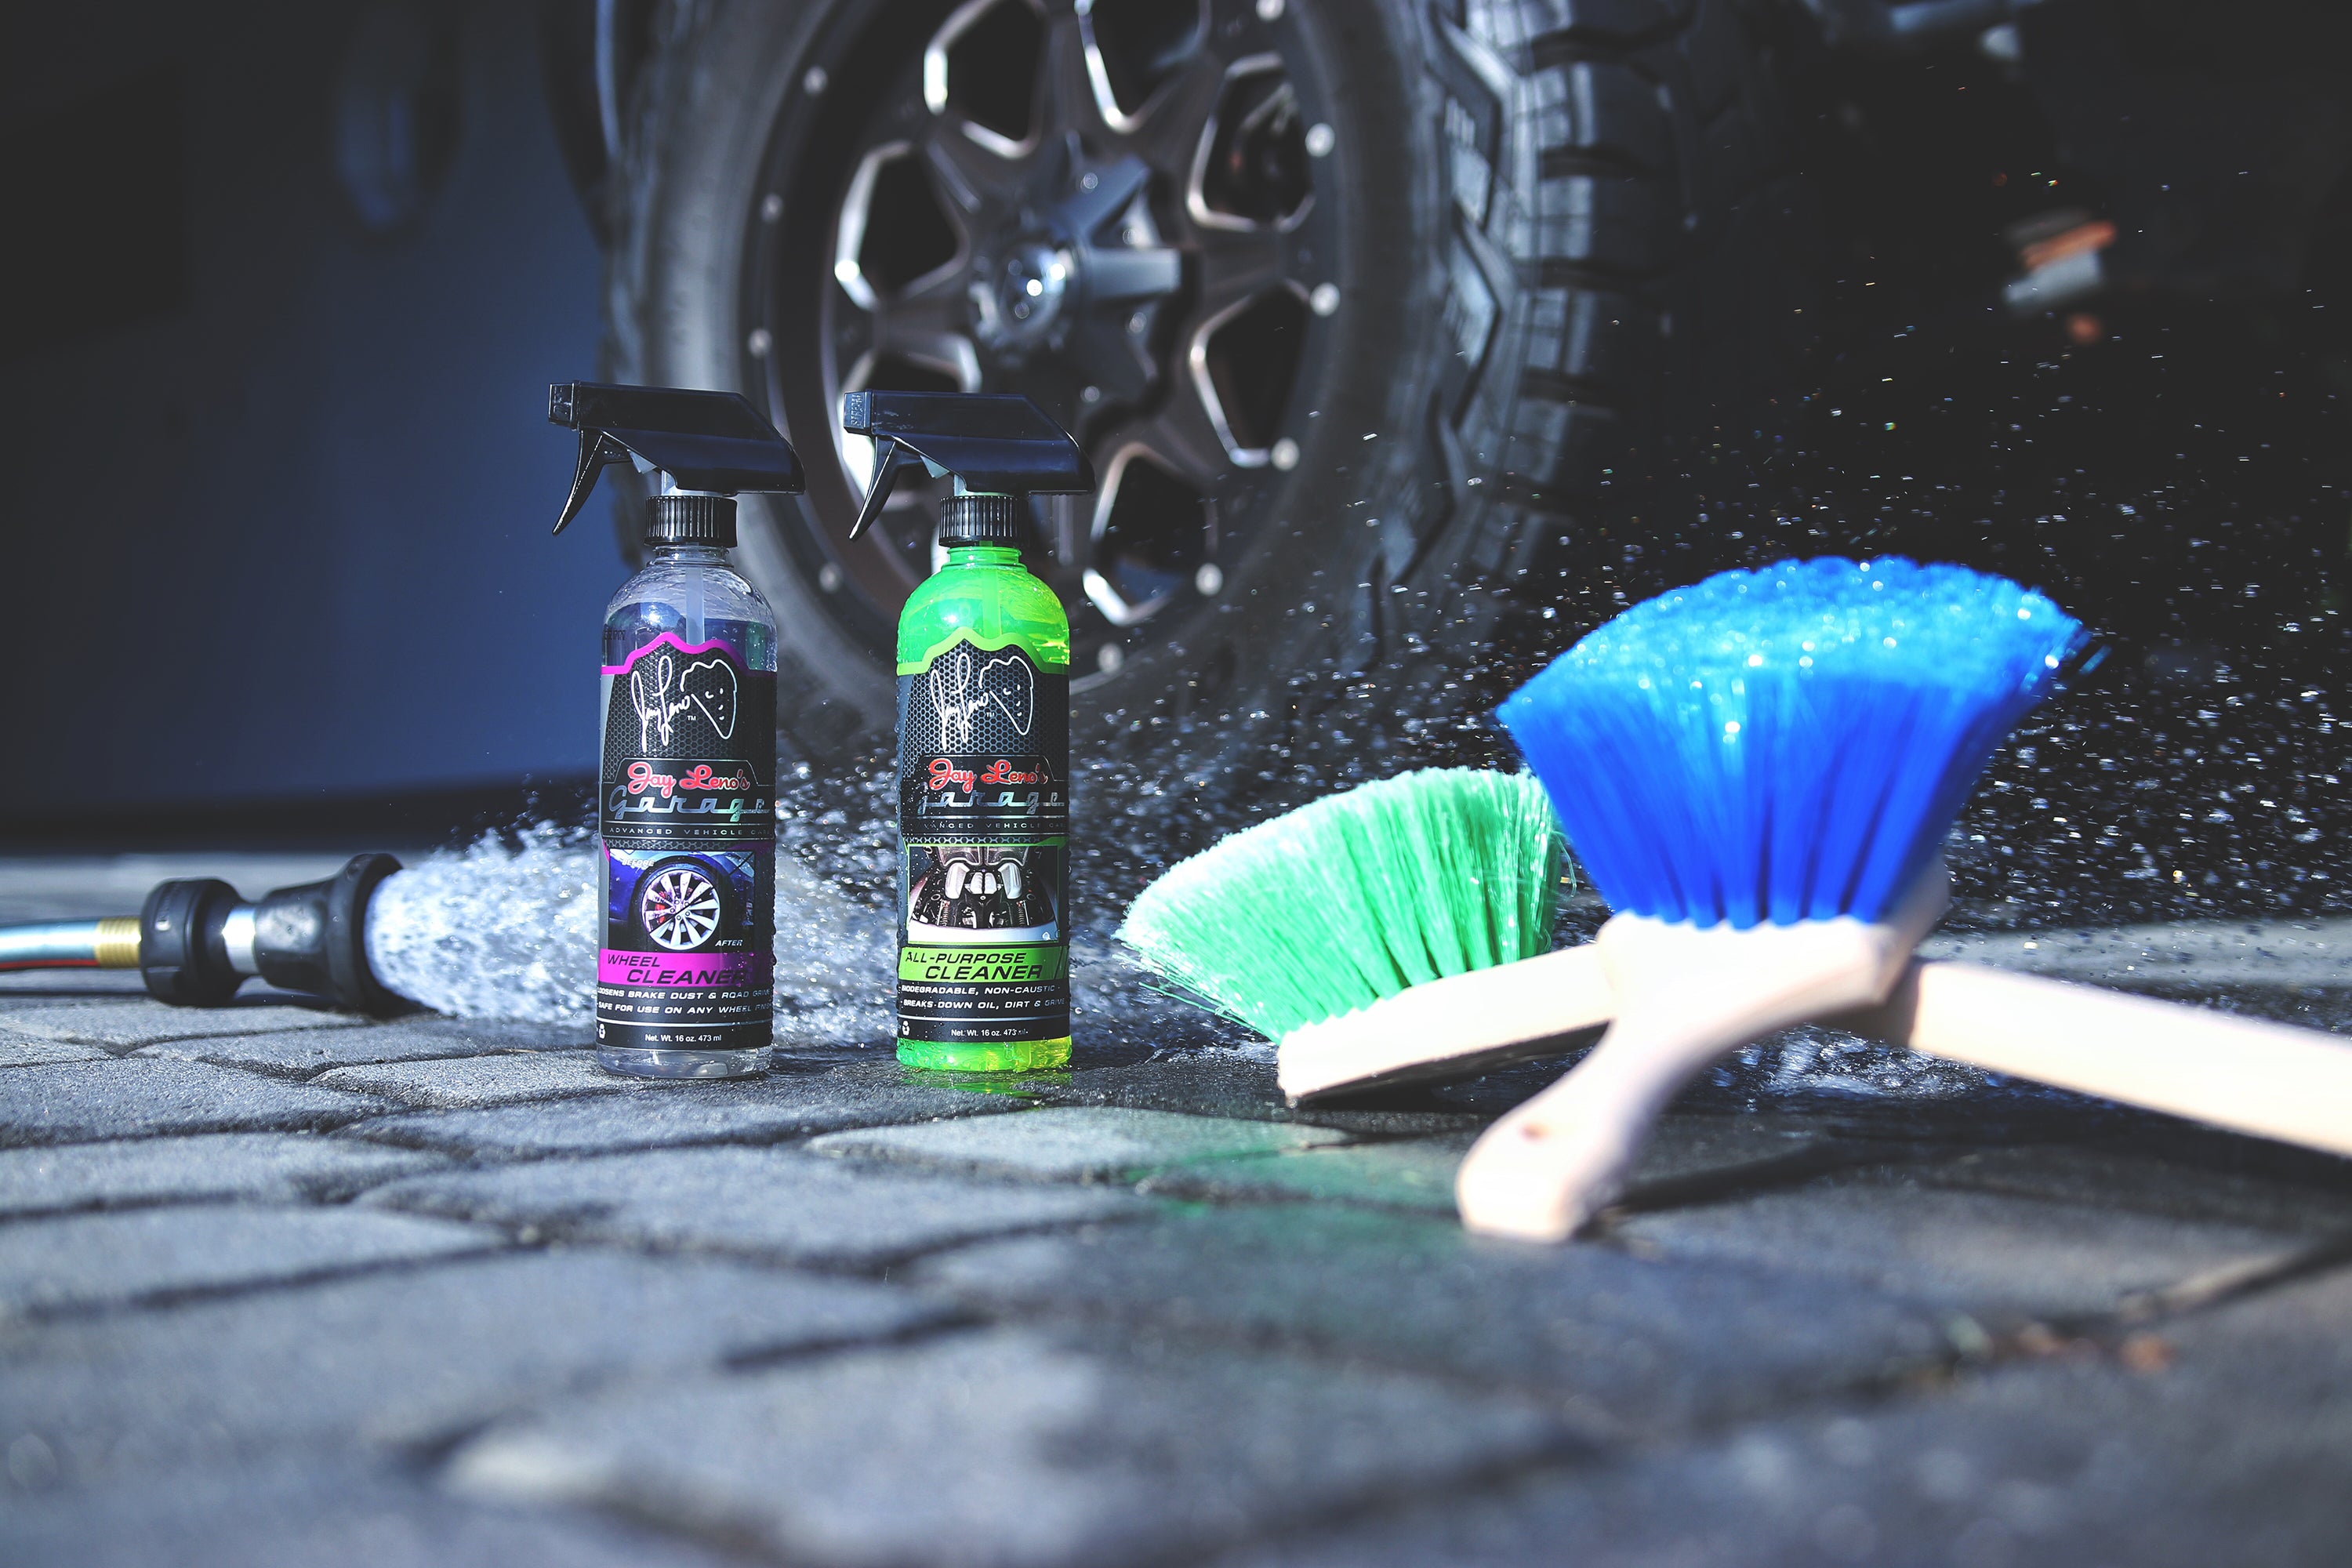
Instead, choose a high-quality, PH-balanced soap that is designed specifically for cleaning painted surfaces. Jay Leno's Garage Vehicle Wash is PH-nuetral, and is formulated for maximum lubricity to prevent scratching or marring.
Rule 4 – The Wash Mitt
It is imperative to invest in a quality wash mitt. While there are hundreds of types of wash mitts available on the market today, one of the most recent advancements in this area is microfiber chenille mitts. These are extra-soft mitts that contain absorbent strands to help lift and trap dirt away from the paint’s sensitive surface. They’re the only wash mitts we use at the garage!
Rule 5 – The Drying Towel
Do not overlook the drying step. Most folks will simply grab an old, cotton bathroom towel to do the job. But fabrics like cotton are typically too aggressive to use on your car’s paint and can also leave behind dreaded swirls and scratches.
Instead, we recommend using a microfiber drying towel. These provide an extra-soft, super absorbent solution to aid in drying your vehicle. And the best part is, they won’t harm your car’s painted surfaces.
The Process:
Thoroughly rinse the car with your hose using a strong blast of water.
Soak your wash mitt in your wash bucket, and wash from the top of the car, then work your way down – roof, windows, hood, trunk, front & rear, sides, then wheels, tires and wheel wells last (use a separate, dedicated brush to clean wheels, tires and wheel wells).
Rinse your wash mitt in the rinse bucket after each section, then soak in the wash bucket to fill the mitt with more soap and suds.
Rinse the car after each major section to help avoid soap drying on the surface.
Once each section is completely clean, you can move onto the final step, drying the car. Using very light pressure, start at the top of the car, and work your way down with your drying towel. We suggest patting the water dry, instead of dragging the towel across the surface. Depending on the size of your vehicle, it may also be necessary to periodically ring out your towel.


9 comments
Oxo Care
thanks for sharing these tips. These tips are very useful for us.
thanks for sharing these tips. These tips are very useful for us.
John Brown
Nice article to know about different car cleaning processes. I have a new Toyota Yaris and I am worried about its cleaning process. For external surface, I am using traditional car cleaner and for internal parts, I am using the powerful car vacuum cleaner. I have selected one only car vacuum and it is very good so far. Its cleaning efficiency is very high and from this article, I came to know some effective cleaners for exterior parts. Thanks a lot.
Nice article to know about different car cleaning processes. I have a new Toyota Yaris and I am worried about its cleaning process. For external surface, I am using traditional car cleaner and for internal parts, I am using the powerful car vacuum cleaner. I have selected one only car vacuum and it is very good so far. Its cleaning efficiency is very high and from this article, I came to know some effective cleaners for exterior parts. Thanks a lot.
John Brown
A good article to know about essential tips for a car wash. All the tips are associated with exterior parts. For interior parts, I am using a powerful car vacuum cleaner for cleaning. It is very good and able to clean critical dirt, animal hair and other contaminants which cannot be cleaned 100 per cent by other cleaning methods. I am benefited a lot to use it.
A good article to know about essential tips for a car wash. All the tips are associated with exterior parts. For interior parts, I am using a powerful car vacuum cleaner for cleaning. It is very good and able to clean critical dirt, animal hair and other contaminants which cannot be cleaned 100 per cent by other cleaning methods. I am benefited a lot to use it.
Mike
Actually, I buy a new car few days ago and I was looking for some car washing tips
and found your blog. I really love your post because you write a great post which helps me a lot for perfect car wash.
Actually, I buy a new car few days ago and I was looking for some car washing tips
and found your blog. I really love your post because you write a great post which helps me a lot for perfect car wash.
kkewash
Thanks for sharing informative tips to perfect car wash.
Thanks for sharing informative tips to perfect car wash.
Travis Walker
I just love all these recipes, they all work really well! Thanks for share.
Travis – Pressure Washing Expert
I just love all these recipes, they all work really well! Thanks for share.
Travis – Pressure Washing Expert
John Brown
Really liked your article. You have shared very helpful tips. Recently I went to garage to wash the car. Yes it was expensive. So I am looking for some home based easy steps to clean the car. There I have noticed they cleaned the car from inside fully with vacuum. I have also purchased the best car vacuum cleaners. You have not mentioned about it. I think car owner and also the pet owner who take pets in car must have the vacuum cleaner.
Really liked your article. You have shared very helpful tips. Recently I went to garage to wash the car. Yes it was expensive. So I am looking for some home based easy steps to clean the car. There I have noticed they cleaned the car from inside fully with vacuum. I have also purchased the best car vacuum cleaners. You have not mentioned about it. I think car owner and also the pet owner who take pets in car must have the vacuum cleaner.
Gerald Seaker
This was really a great post to remember. love the topic
This was really a great post to remember. love the topic
Brittny
Thank you for this informative article. Out of all these rules I find that Rule #5, the drying process, seems to be overlooked the most. Instead of trying to invest a couple extra bucks into better towel quality a lot individuals and sometimes companies will buy these rough towels that in the long term end up messing up the car surface. Or some people will clean the car mirrors and glasses only to leave streaks in the window. Nonetheless minor investment in grit guards and mircofiber gloves are game changers especially if your doing it yourself.
Brittny
Site-Owner of https://www.greenvilledetailers.com/